When my best friend and her daughter asked me to help plan the daughter's graduation open house, I gladly accepted! They wanted a luau theme and asked for some help with decorations. I quickly scoured
Pinterest.com for ideas. I found an awesome tutorial from Uncommon Designs. She is the creator of these giant tissue paper hibiscus flowers:
Pinterest.com for ideas. I found an awesome tutorial from Uncommon Designs. She is the creator of these giant tissue paper hibiscus flowers:
The url is:
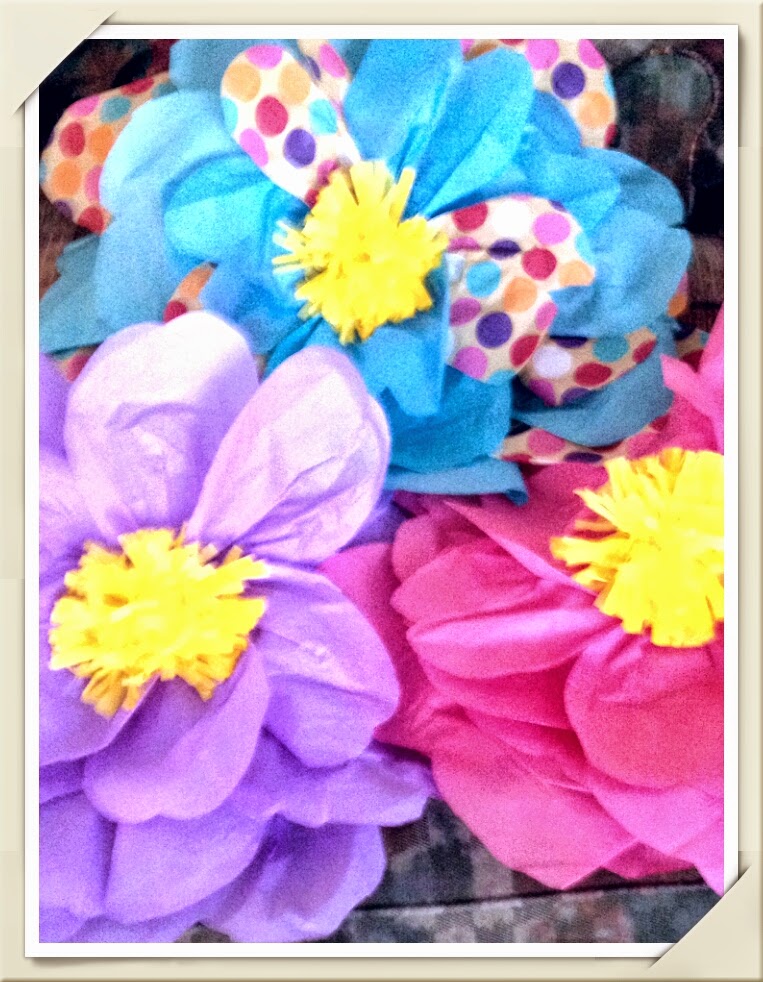
I absolutely loved the flowers I made using her tutorial. I just elaborated on some of her directions below as I wasnt 100% clear on one of the steps. I'll go over the steps with you and elaborate on what I did.
Her pictures are awesome too for help in completing the flowers. I have some pictures of the finished product.

Supplies for giant tissue paper hibiscus flowers:
8-10 sheets of one color tissue paper for petals
4 sheets of another color tissue paper for flower's middles
Scotch tape
floral wire
floral wire cutters
Scissors
posterboard
Pencil
1. Using your pencil and posterboard, draw 3 petal shapes on your posterboard in graduated sizes. The first petal is approximately 13 inches tall and 12 inches wide. (See Uncommon Designs for more info) Then draw 2 more petal shapes one a little smaller than the next. Cut out your petal shapes to use as templates.
2. Spead out your tissue paper that is your petal color and lay 8-10 sheets on top of one another. Use your templates to cut out flowers petals in each of the 3 sizes cutting through all 8-10 sheets at a time. Petals shouldnt be perfect, a little irregularity is good.
3. Now you take your other color tissue paper and fold all 4 sheets together accordion style. This also doesnt need to be perfect but thr thinner you fold, the better. Cut your folded tissue into thirds. You now have enough to make 3 flowers' middles.
4. Cut a piece of floral wire about a foot long. Take youtr floral wire and twist it around your folded paper. (Pictures here) You then cut thin slits on rither side of the wire into your folded tissue. Make sure you don't cut all the way tgrough but have a small half inch section where the wire is. Now pull the tissue layers apart gently until your left with a fluffy mess on a wire.
5. Take 3 of your smallest petals and bunch thr ends together making sure they are fanned out. Secure the bottom with the Scotch tape.
6. Now fold your fluffy flower middle in half and secure the 3 petals to the back of the flower middle with tape. (See picture).
7. Now continue making petal trios and taping around the center. I used 8 pieces to make my petals so I had 2 petals left over that I would tape in any holes to make the flower fuller. After the small, do the medium, then the large petals. Ta da! You can use the wire to attach your flower to whatever you need.

I also made some paper lanterns in various colors that are super easy to make.

To make the lanterns:
Supplies:
Several pieces of colored cardstock or paper (8.5x11"), you could also use printed designs for a different look
scissors
hole punch
string or twine
pencil
1. Fold your paper in half long ways so you have a rectangle that's 4.25x11". Draw a line longways at the end of the rectangle that isn't folded about 1 inch down.
2. Draw lines perpendicular to this 1 long line every inch or so so your paper looks like this:

3. Now cut on all the vertical lines leaving the one inch portion at the top intact.
4. Now open your paper and roll into a circle and staple on each end to make the lantern shape.
5. Punch 2 holes at the top of the lantern and string fishing line, twine, or string in and hang!
No comments:
Post a Comment